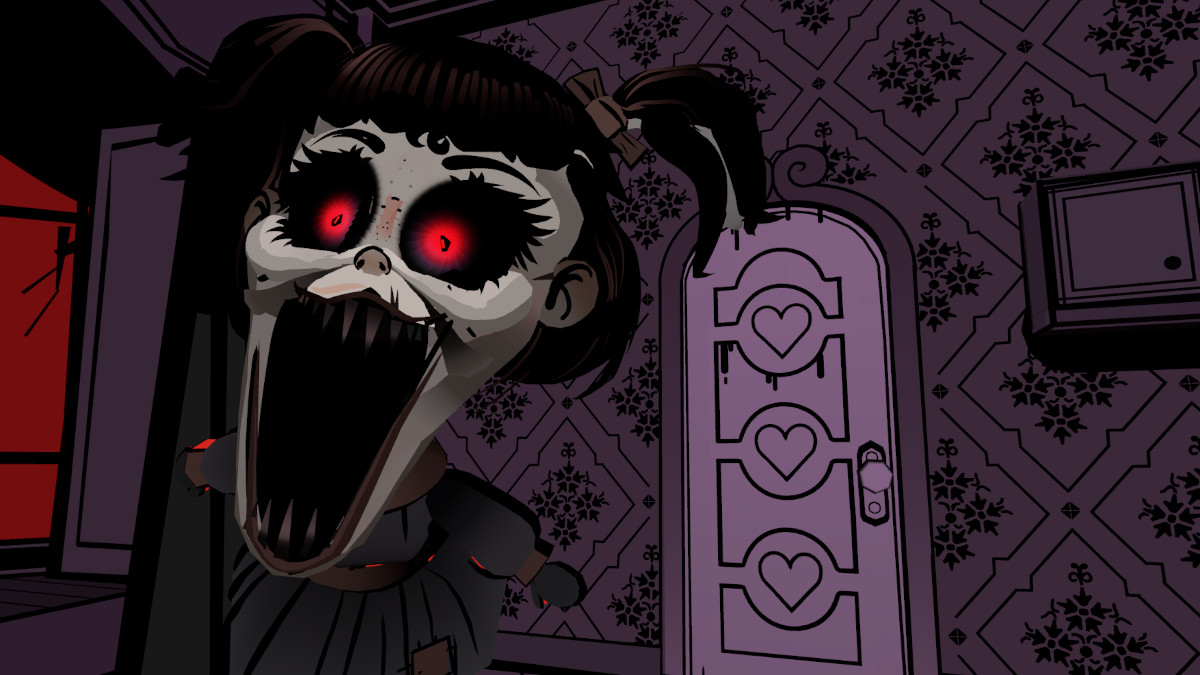
If you’re a fan of point-and-click adventures and love all things spooky, then the demo of Riddlewood Manor is likely already on your radar. It’s adorably creepy in all of the best ways, and filled with challenging puzzles to complete.
If you’re stuck at any point along the way, or you’ve perished a few too many times and the frustration is setting in, then this guide will be of help to you. It explains each puzzle and will help you complete the demo of Riddlewood Manor without too much hassle.
This is a very long demo, especially considering the length of the demo (around 30 minutes from start to finish), so I’ve broken it down a little. All items that can be picked up are highlighted in bold.
Table of contents
How to get into the house

If you head directly up the path and ring the doorbell, you’ll face an embarrassing and swift encounter with your first death. Instead, turn to the left and click on each of the monks praying beside you to get the following items:
- Match
- Holy Egg
- Harvest
Then, turn 180 degrees (to the right of the gate) and pick up the Bucket, then use it with the cow to fill it with Milk.
With those in hand, you can turn back to the gate and head up the path. Once you reach the top, turn to the left to look at the empty box. Put the Harvest into the box and place the Holy Egg on top. Click on the Holy Egg to make it hatch, then give it the Milk to make it stop crying. Once it’s finished drinking, it will burp up a Candle.
Turn back towards the door and place the Candle on the stand to the right of the door, then use the Match to light the candle. Now you can press the doorbell, and the demon that emerges will be destroyed by the light from the Candle, leaving you free to enter the house.

Once you get in the house, ignore the floating furniture for the time being and turn to your left. Pick up the Match from the coat pocket, and then open the cabinet door halfway up the broken staircase to get some Scissors. Turn 180 degrees from this point and head upstairs, then turn left and use the Scissors on the string to gain access to the room with a ‘keep out’ sign.
All puzzles in the playroom
This room appears to be a playroom. Inside this room, there are a few different puzzles to complete, so let’s break this down to individual puzzles and their solutions:
Cards and circles

Inside the playroom, you’ll find four different playing cards that each have a symbol on them. These can be used on the cabinet next to the door with various circle designs painted on it. The cards can be found in the following locations:
- Two on the platform with the train track
- One above the door with the hearts on it
- One under the lampshade next to the cabinet mentioned above
It’s not immediately obvious what to do with these, but the answer lies in the four busts that you’ve already seen. The lines painted around each circle represent the hair on these busts, with the top lines being basic hair and the bottom lines representing a beard. Each bust has a corresponding symbol, also shown on one of the four cards.
Here’s the solution to this puzzle:
| Lines on circle symbol | Card |
|---|---|
| No lines | X card |
| Lines at the top | Triangle card |
| Lines at the bottom | Circle card |
| Lines at the top and bottom | Wavy lines card |
Completing this puzzle will open up the top of the cabinet, letting you pick up the Train Engine and a Wooden Tile.
Train puzzle

Once you’ve completed the cards and circles puzzle, you’ll be able to put the train together. The other two train pieces can be found in the following locations:
- On top of the coded cabinet, between the windows to the left of the platform
- On the platform itself
- Found inside the cabinet after completing the Cards and Circles puzzle
Just take them from your inventory and put them on the tracks to complete this puzzle. Fully building the train and clicking on the Train Engine will cause an entity to appear, and mysteriously show you the number 3, which is useful for the next puzzle.
Coded cabinet

Completing the final puzzle in the playroom requires a few different steps, all of which lead to clues about the code for the cabinet by the windows.
First, head into the hallway and turn to your right, then click on the curtains to open them before turning 180 degrees to look at the portrait. There will now be three symbols, each representing a member of the family.
Second, track down the four Wooden Tiles needed to complete the table puzzle in the downstairs foyer. They can be found in the following locations:
- In the bottom of the grandfather clock on the stairs
- Top left corner of the portrait of the Riddlewoods, behind the frame
- Upstairs, turn right from the portrait and click on the framed puzzle piece
- In the cabinet in the playroom, after completing the cards and circles puzzle
Place the four Wooden Tiles onto the table, and then a letter will appear. This letter is addressed to Mr Riddlewood, highlighting the number 4. There’s another letter down here, on the shelves to the right of the door. This one is addressed to Mrs. Riddlewood and highlights the number 6. These two numbers, coupled with the smoky 3 from the train puzzle, are the answer to this final coded cabinet.
Here’s the complete solution to this puzzle:
| Family member | Symbol | Number |
|---|---|---|
| William (Father) | Balloon | 4 |
| Emily (Daughter) | Three dissected lines | 3 |
| Margaret (Mother) | Hourglass | 6 |
Input the code (436) at the cabinet, and the bottom door will unlock, allowing you to pick up a Skull Candle. Turn 180 degrees and place the Skull Candle on the table, then use the Match in your inventory to light it. After the events that follow, you can head downstairs and interact with the smoking bust to get the Red Key.
How to make breakfast

Use the Red Key to unlock the door and go through it into the dining room. Click on the man at the head of the table, and he’ll order you to make Breakfast. This is easier said than done, but let’s get to it.
First, turn to your left and open the cabinet on the wall, picking up the three Matches that are in there. Notice the pattern at the top? We need that. Turn 180 degrees and head through the door into the kitchen, then turn left and open the oven door. Press the buttons in the following order from left to right:
- Middle
- Top
- Bottom

Why do we need to do this? Because if you try to light the stove without doing this, the room explodes and you die, which is less than ideal and will cause you to start this section over again.
Moving on, we need to find ingredients for breakfast. The chalkboard to the left of the oven tells us that we need two Eggs and some Bacon.
How to get bacon

Turn 180 degrees from the oven and flip the lever on the wall between the windows to reveal a trapdoor. Head down the ladder, click on the grain barrel to get some Grain, and then pick up the Knob that’s sitting next to the barrel. Next up, click the sugar barrel to reveal the same creature you birthed from your Holy Egg at the beginning of the game, and he will burp up another Candle.
Turn to your right and pick up the Chainsaw that’s lying on the ground, then turn to your right again and head back up the ladder to the kitchen. Turn right, and use the Knob on the drawer that doesn’t have one, then click the drawer again to find another Candle. Turn right again, then head back down the ladder.
When you get down into the cellar, turn left and place your two Candles on the lectern there. Then, use two Matches to light the Candles, which will reveal a very creepy pig’s head that you can take. Head back up the ladder to your left, and then place the Pig into the meat grinder to get some Bacon.
How to get eggs

Now that we’ve got bacon, we need to get two Eggs. The first can be found by turning 180 degrees from the oven and using the Chainsaw on the hanging cage in the corner.
For the second Egg, head back into the dining room and use the Grain on the bowl in front of the chicken sitting at the table. The chicken will eat the grain and plop out an Egg, which you can then pick up.
Once you’ve got all the ingredients, head back into the kitchen and grab the Pan that’s hanging above the sink, then turn left towards the oven. Make sure the light is green, then use the red valve to the left of the oven to turn on the gas before using your last remaining Match to light the stove. Place the Pan on the lit stove, add the ingredients, and voila: Breakfast.
Take the Breakfast back into the dining room and give it to the man at the head of the table, then he’ll throw you a Key.
How to navigate the cellar

Head back into the kitchen and down the ladder to the cellar, then turn right and face the diamond pattern in the wall. To move on from here, you’ll need to complete a game of Connect 4, which I honestly can’t help you with. Just keep playing until you manage to get four red wines lined up before the game wins. When you win, the wine rack will slide over, revealing a door. Use the Key to unlock the door.
After going through the door, click on the doll that’s chained up in the tunnel entrance to get a Stone Disc, then click on the doll again to get it to leave. Head further into the tunnel and turn left, then click on the left barrel to get another Stone Disc. Enter the door behind the barrel, then turn 180 degrees to find the third Stone Disc.

With the three Stone Discs in hand, then left and place them in the slots on the wall, then line up the puzzle in the middle to get a Stone Head. Turn back towards the door of this room, close the door, and you’ll see a color pattern on the wall that you’ll need to remember for later:
- Green, Purple, Yellow, Purple, Green
Open the door again and leave the room, then turn right and open the chest in front of the tunnel to get a Key. Go down the tunnel into the next room, turn 180 degrees, and use the Key to open this chest, gaining a Half Skull. Turn right and shuffle the bones around until you have an almost complete skeleton on the spike that has an X over it, then use the Half Skull to complete the skeleton. Click on the skeleton again to get a Potion Bottle.

Turn right and head back down the tunnel, then turn right and place the Potion Bottle in the small archway under the potions table. Remember that color pattern from earlier? Here’s where we need it. Create that pattern in the five jars that are now in front of you. Mix blue and yellow together to get green, blue and red to get purple, and use yellow twice to get a purely yellow mixture. When the Potion is complete, click on it to add it to your inventory.
Turn to your left, and open the door, but do not go through it, or you will die. Turn left again and enter the room in front of you, turning left again to see the four torches on the wall. These are your clues to the next puzzle. Remember the order of the symbols, then leave this room, turn right, and head back down the tunnel.

In the next room, turn left and face the three skeletons in stocks. Place the Stone Head on the plinth in front of them, then pour the Potion over the top of it, which will display the same symbols you just saw above the three skeletons. You need to click the skeletons in the following order to complete this puzzle:
- Middle, left, middle, right
This will cause the Stone Head to sink into the plinth, revealing a Heart Key. Turn right, head down the tunnel, turn left, and enter the room in front of you. Without turning, use the Heart Key on the lock to free the teddy from his imprisonment and complete the Riddlewood Manor demo.
Leave a Reply